How to: Make a Hoko Knife: Hafting a Primitive Blade
Share
Video
This is a simple and practical primitive toll based off a 2,700 year old artifact found near the Hoko River in western washington, thus the name "Hoko Knife".
Sharp stone flakes are quite useful naked, but adding a handle can increase, leverage, dexterity, and over-all usability. Just take a stone flake, and place it between a split twig or small stick, lash it into place using whatever cordage is available.
The construction is very basic, but effective. Using a small sapling or twig, a stone flake is lashed in place to increase the leaverage and usability of the already formidable basic flake. The blasdes are usually the by-products of flakes chipped off during flintknapping in the attempts of making a larger or more fashioned piece.
Many different kinds of cordage can be uses, such as bark and plant fibers, sinew, and modern cordage such as twine, or paracord. The effectiveness of this design is due to the ability to un-do the lashing and replace a fresh blade when an old one runs out.
WARNING: Stone flakes are extremely sharp and dangerous, so severe injury can result in mishandling or misuse.
Instructions
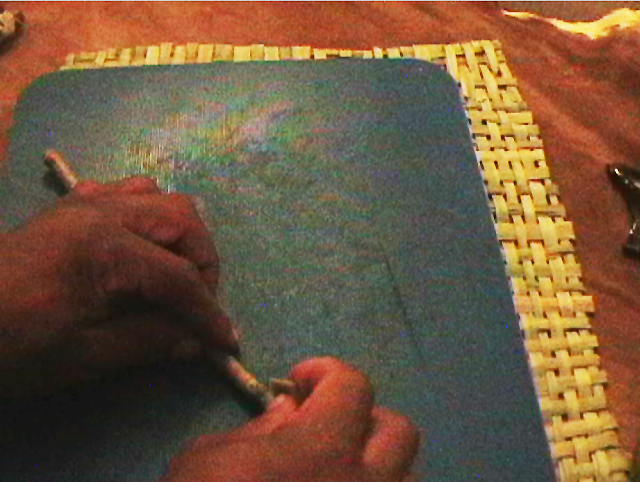
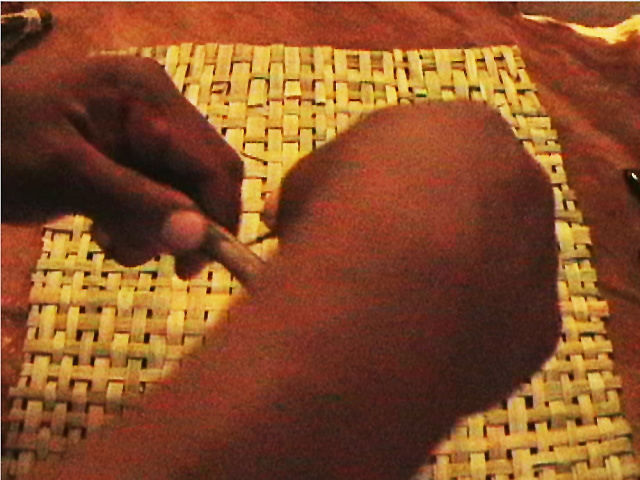
1). Using a cutting tool, split the handle down the middle.
2). When pulling apart and it begins to go askew, pry more on
the thicker side to even out the split.
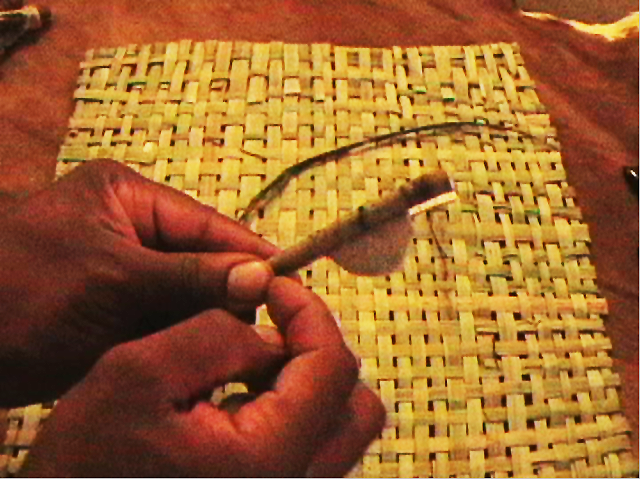
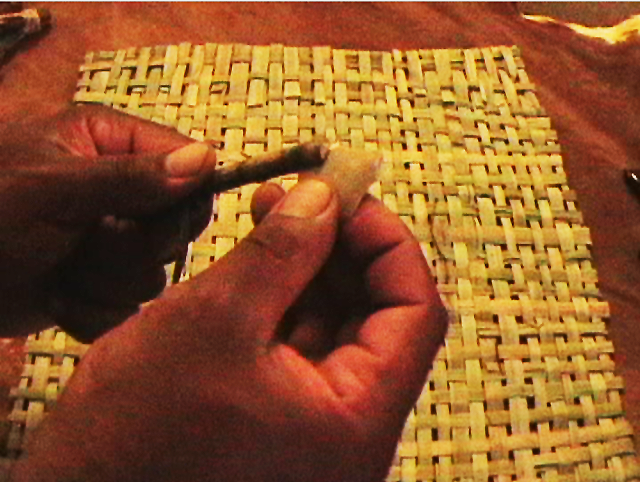
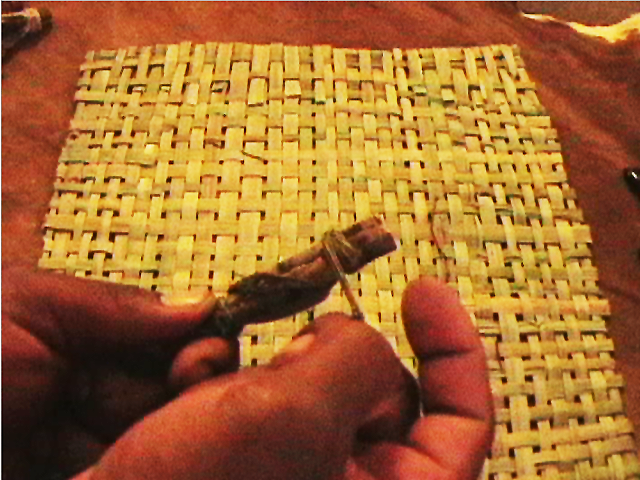
3). Set your blade in between the two halfs of your handle to
sight where to end your lashing. Be sure to leave enough space
at the handle top for lashing as well.
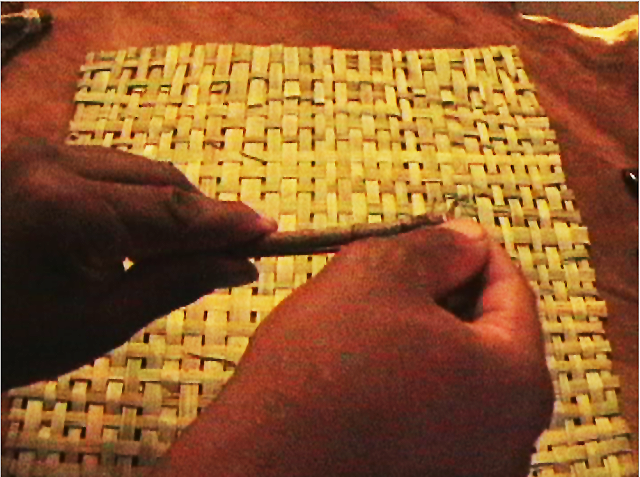
4). Insert your cordage between the handle-halfs...
5). Sandwich the cordage just a little below where you want to
end your first lashing...
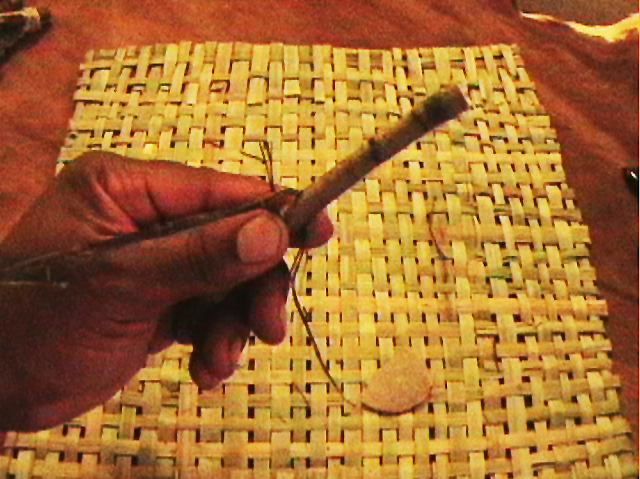
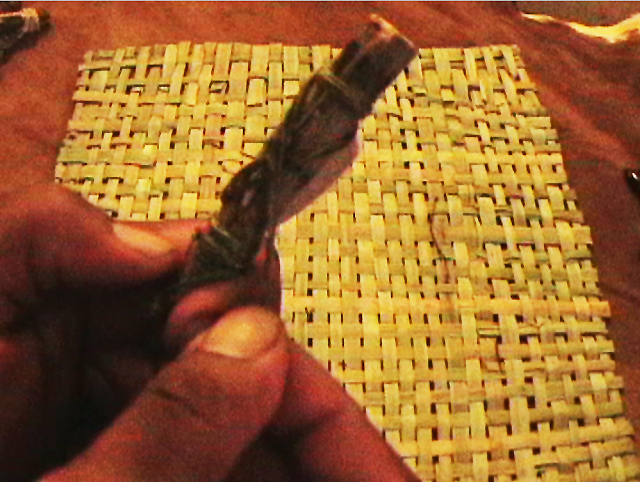
6). Begin to wrap the cordage around both halfs of the handle...
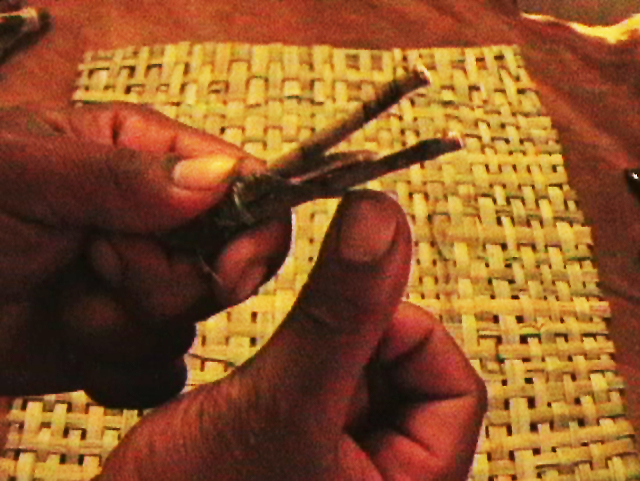
7). Insert your blade. There should be enough friction between the handle-halfs for
the blade to not fall out...
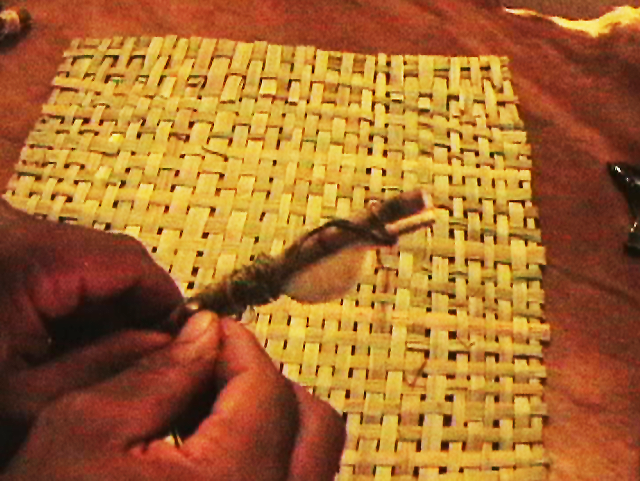
8). Continue to wrap the cordage laying it diagaonally along the back of the
blade towards the top of the handle. NOTE: It is important that the back of the blade not be sharp. It can be dulled by abrading the back of it.
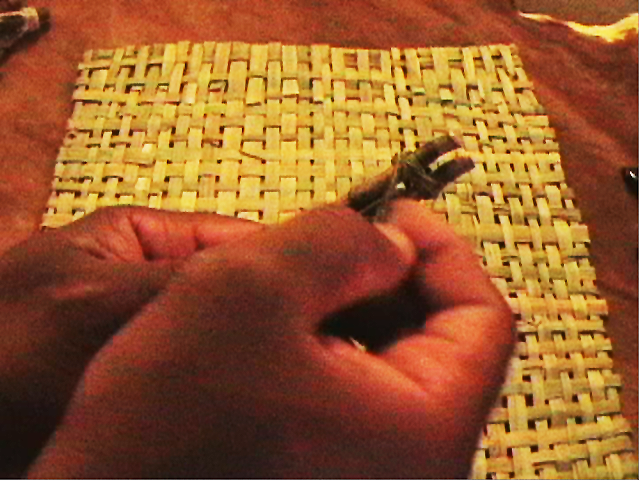
9). Lock everything down by pinching the top of the handle-halfs and anchoring
your cordage by wrapping it a few times around the top.
10). At this stage you can insert the end of the cordage between the handle-halfs and half-hitch or knot it off. The knife would be ready for use at this stage. However...
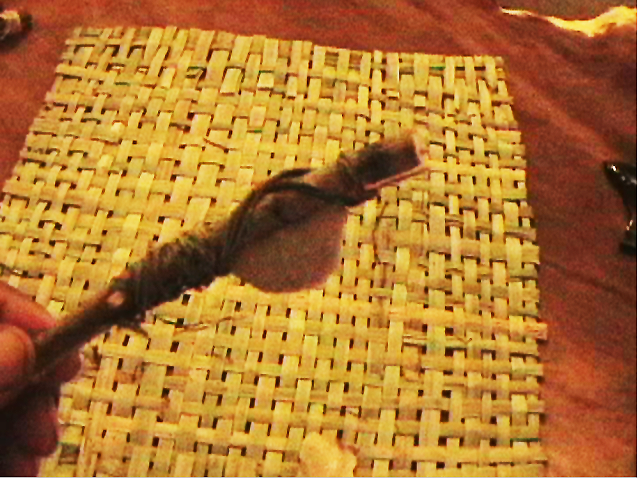
11). You can continue wrapping diagonally downward toward the end of the handle. Creating and 'X' on the back of the blade. This is not only esthetically pleasing,
but also strengthens the hafting of the blade by reinforcing any upward pressure put on the blade while cutting.
12). Finish off by slipping the end of the cordage between the bottom halfs of the handle...
13). You primitive Hoko blade is ready for use. When the blade becomes dull you can simply undo the lashings and replace with a fresh blade.
top↟