How to: Make Flower Garland/Wreaths
Share
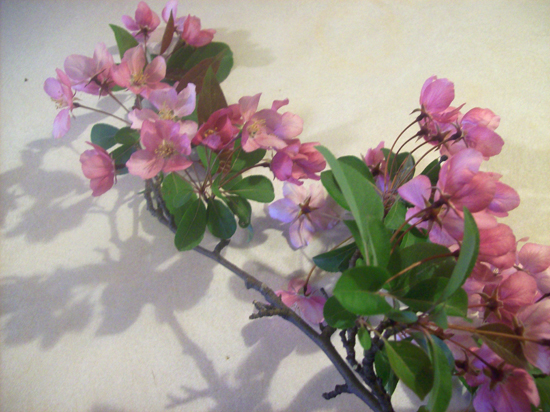
You can make a beautiful flower garland using only natural materials for fun or a heart-felt inexpensive gift.
Instructions
1). Harvest your flowers, leaves, or blossoms. Be sure that if you are making this for someone that they are not allergic to the flowers or plants or decorative material you are using. Do not use poisonous materials.
2). Be sure that you have enough of your decorative material ready. If you are using live material such as blossoms, you will have to work quickly so that your flowers do not wilt.
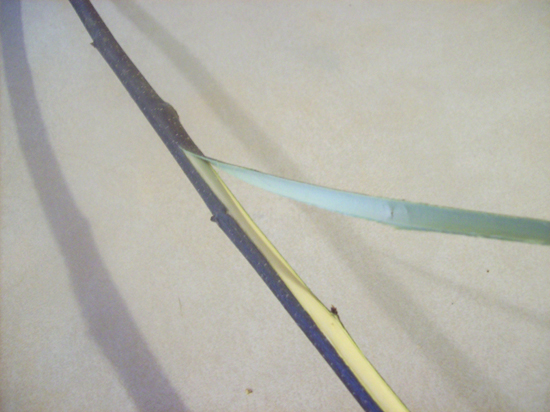
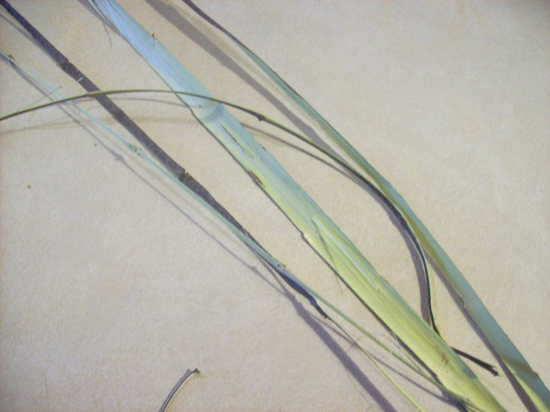
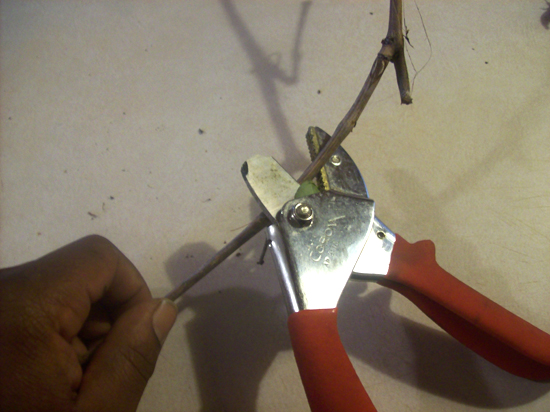
3). Gather your cordage: ribbons, yarn, twine can be used. Here, I am stripping bark from an Elm sapling. I will be using this as the wrap.
4). Elm bark makes pretty good lashing material…
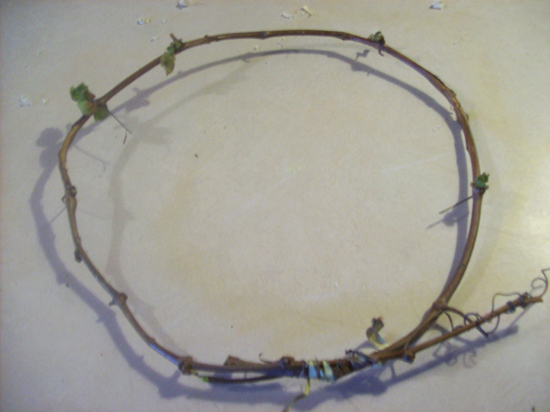
5). Size and cut your frame material to make a frame-hoop. You can use a measuring tape, or ribbon to get the approximate size of the head your garland is to go upon. Here I am using a small wild-grape vine. I also will be using Elm sapling for the garland frame…
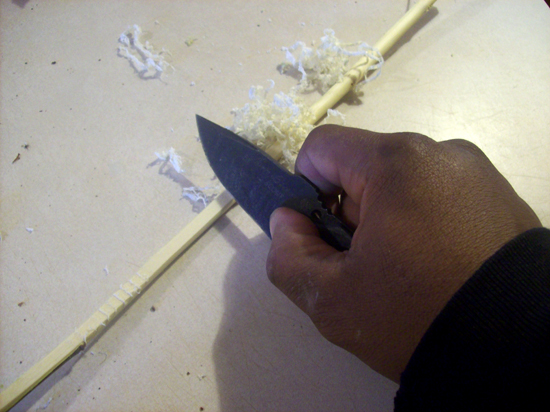
6). Scrape away stock from one side of the sapling. So one side is flat and the other side is un-touched. If you are using wild-grape vine this step will not be necessary.
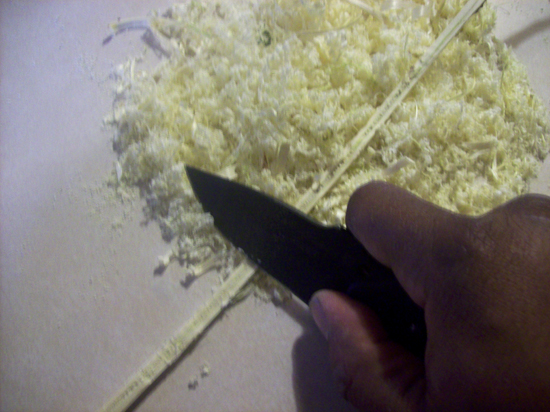
7). Scrape down to the center of the sapling. Notice the shavings. The shaving can be used as tinder for building a fire in a camping situation.
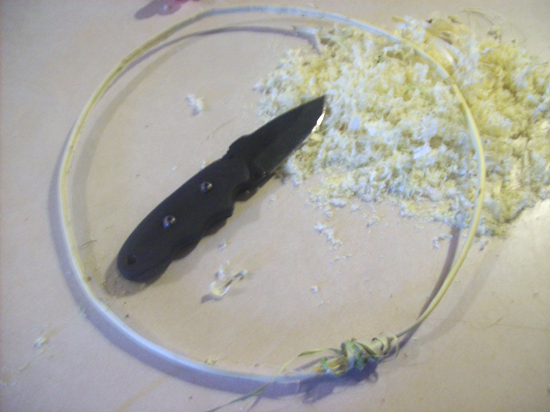
8). Use light heat to help bend the sapling into a circle. Take your time and be careful not to burn yourself. Be gentle in the bending process as the sapling can still break. It is better to do this heat treatment if the sapling is very green and still moist.
9). Look for an even bend all the way around. You may have to scrape/shave off more stock of the sapling in areas that do not bend. Be careful to take of a little at a time. You can always take away, but it is very hard to put it back ;-)
10). This is the wild-grape frame-hoop. I used a little heat to get it to bend with out snapping on me. Notice how I am using the Elm lashing to hold the hoop in place.
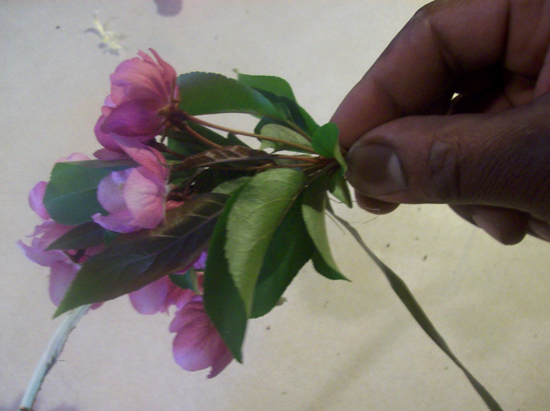
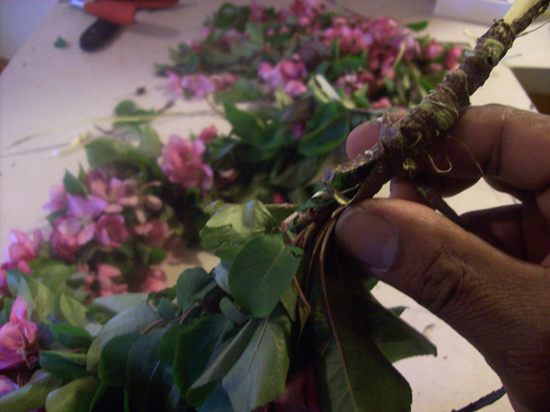
11). Now starting from the center front of your frame, place a blossom with stem still attatched, and begin to wrap the stem to the frame with your lashing ..
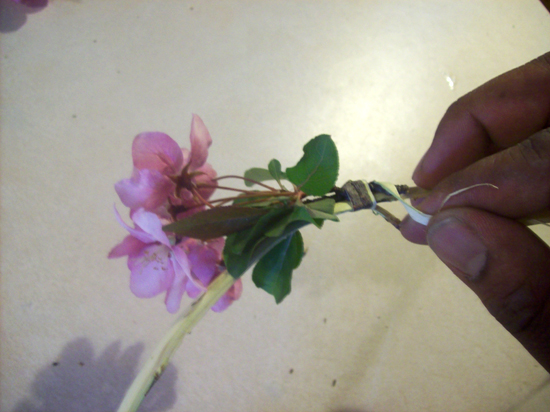
12). Tightly wrap about one and half times around…
13). Now start adding additional flowers, working front towards the back of your hoop, and wrapping with your lashing to secure in place.
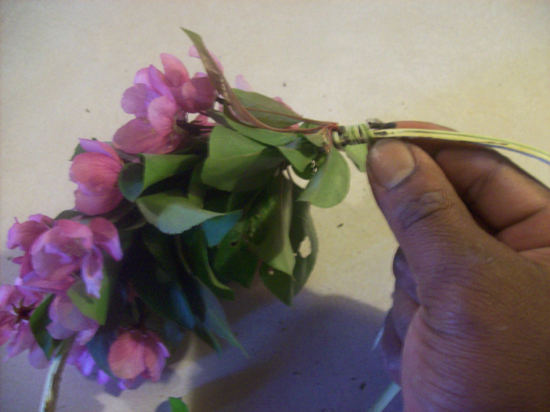
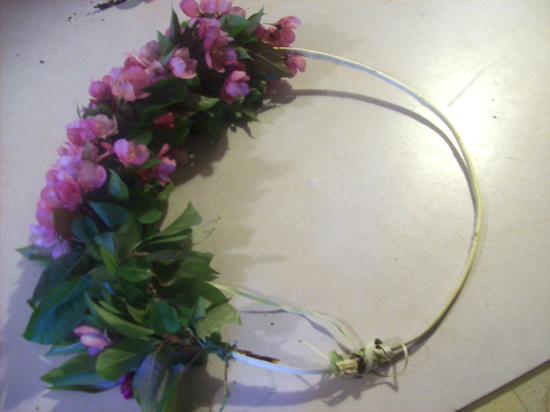
14). Here, one side is about done. Notice how I started to add more leaves towards the back. When adding your decorative materials such as flowers, leaves, or even feathers be creative.
15). Once one side is done, start from the front of the other side of your hoop and repeat the process working from the front of the hoop to the back. When you reach the end or at a stopping point, you can finish up by wrapping additional lashing around your frame onto your last flower. Here I use common whipping to cover and bind the frame and the last blossom.
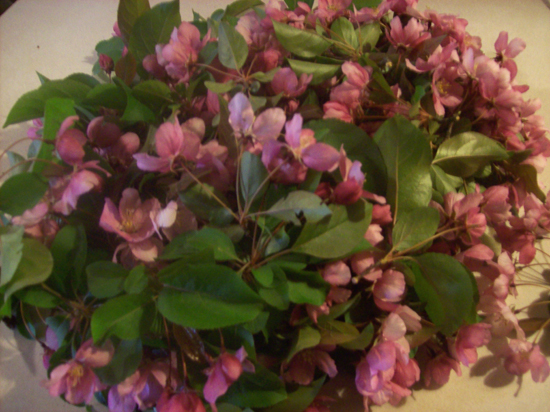
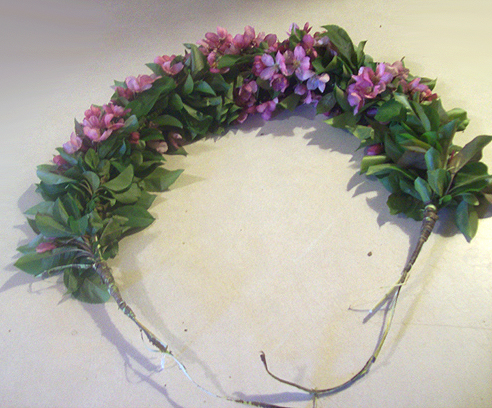
16). The finished garland.
If you have the enough lashing material used in your final lashing, you can use the ends as a laces to tie the garland around the head.
top↟
