How to: Make a Cattail Leaf Thatched Frame
Share
Here is a tutorial on how to thatch with cattail leaves. Here I am creating an awning to build a sort of sun-shelter for the driveway using natural materials. This is the process used by primitive/aboriginal peoples with an abundance of grasses or tall leaves to create walls, screens, and semi-permanent shelters
Instructions
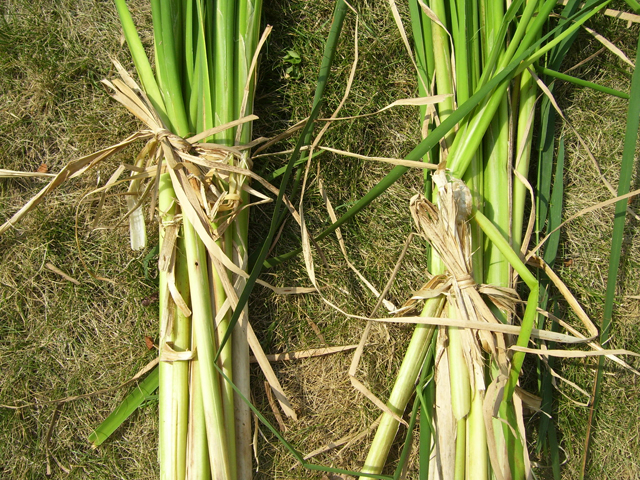
1). Harvest cattails just as the very tips are turning yellow, mid to late Summer.
Lay them out to dry in the sun, or in a cool dry place. In the sun takes about 3 days with consistent daily temperatures and sun exposure. Indoors takes about 2 weeks. Cattails change color as they lose their chlorophyll as they dry. They change more quickly in sunlight.
2).
Notice how I used the lower parts of the leaves to bundle the portions of cattails to dry. The lower part of the cattail leaf seems to be the stringiest and toughest part of the plant, and makes good cordage.
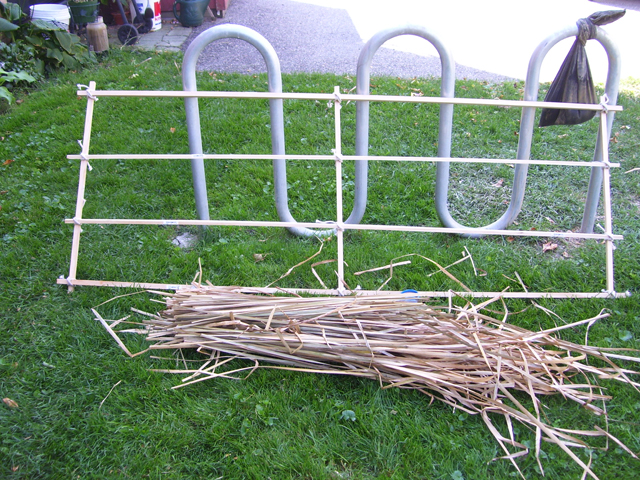
3).
While the cattail leaves are drying, create your frame. I fashioned this one out of bought pieces. A more rustic frame can of course be created with naturally harvested materials. I have portioned out and cut the cattail leaves I will use to 2/3 the height of the frame, maybe a little more.
4).
The tools you will need are cordage, and a sharp edge like scissors, or a knife. The cordage I am using is waxed nylon, again, of course natural material such as nettle, milkweed, dogbane fibers, the inner bark of elm, or basswood, or roots from cedar or other conifers can be used. Cattail makes acceptable cordage for twining and binding as well....
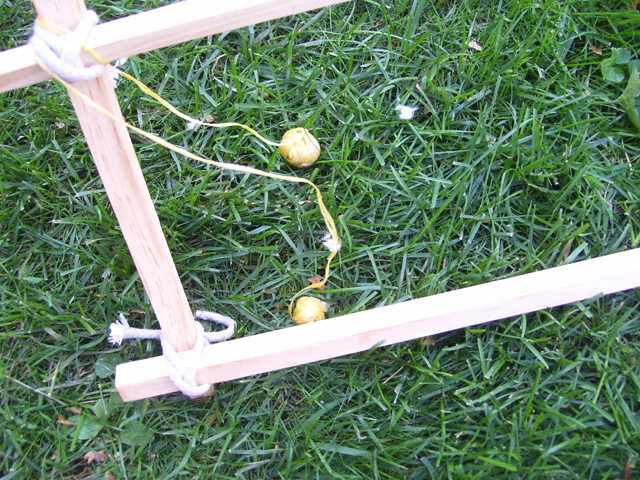
5).
Take some cordage, generally more than you will need and wrap both ends around a stick or twig, or wind around a ball of tissue, anchor around the outside or standing part of your frame...
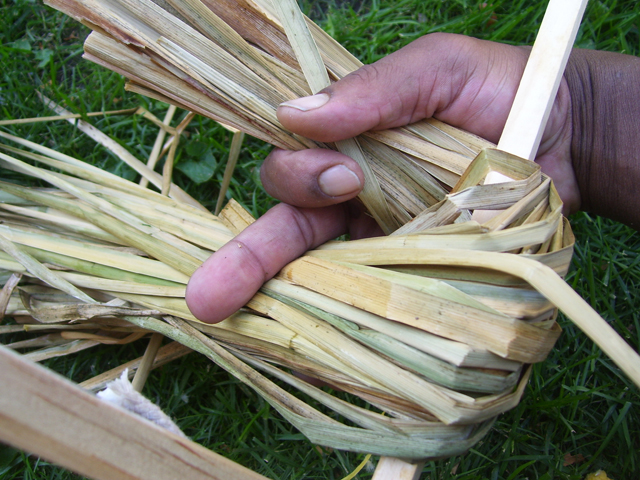
6).
Take a bundle of leaves and drape the first 1/3 of the leaves over the bar of the frame towards you. It helps to twist the bundle towards the top to help keep the bundle together...
7).
Continue to wrap the leaves over, around, and behind itself letting the ends rest against the standing part of the frame...
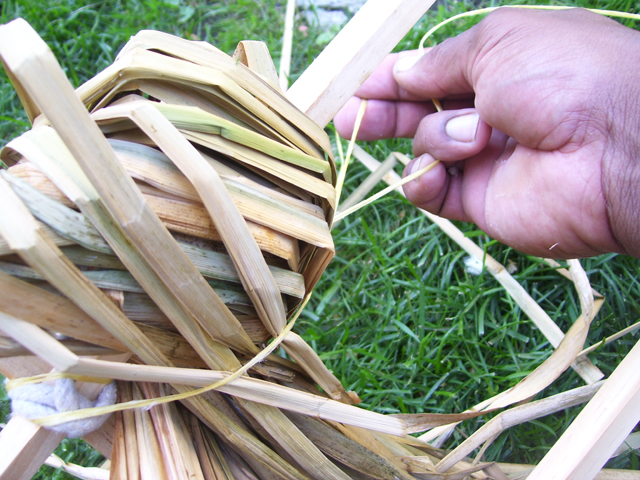
8).
Next take your cordage and wrap around this bundle and...
9).
create and overhand knot and cinch tight...
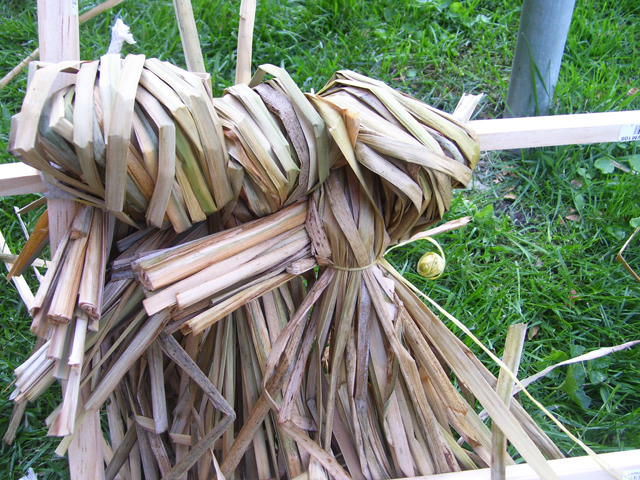
10).
Continue with the next bundle: wrap over frame towards you, twist it around the back of itself so the ends rest on the preceding bundle, and take your cordage, wrap, knot and cinch tight...repeat...
11).
Continue this process along the length of the first rung of your frame. The wrapping and bundling of the leaves should start from the bottom of your frame towards the top. The same way roofers lay shingles. This also aids in wicking away water on your frame or shelter when it rains or snows.
12).
Here is the awning almost done now working on the top rung...
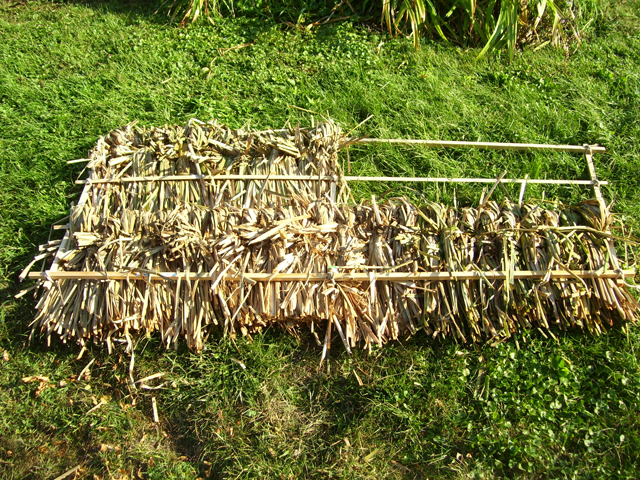
13).
The finished thatched awning ready for a stand and supports.
top↟