How to: Make Black Walnut Dye
Videos
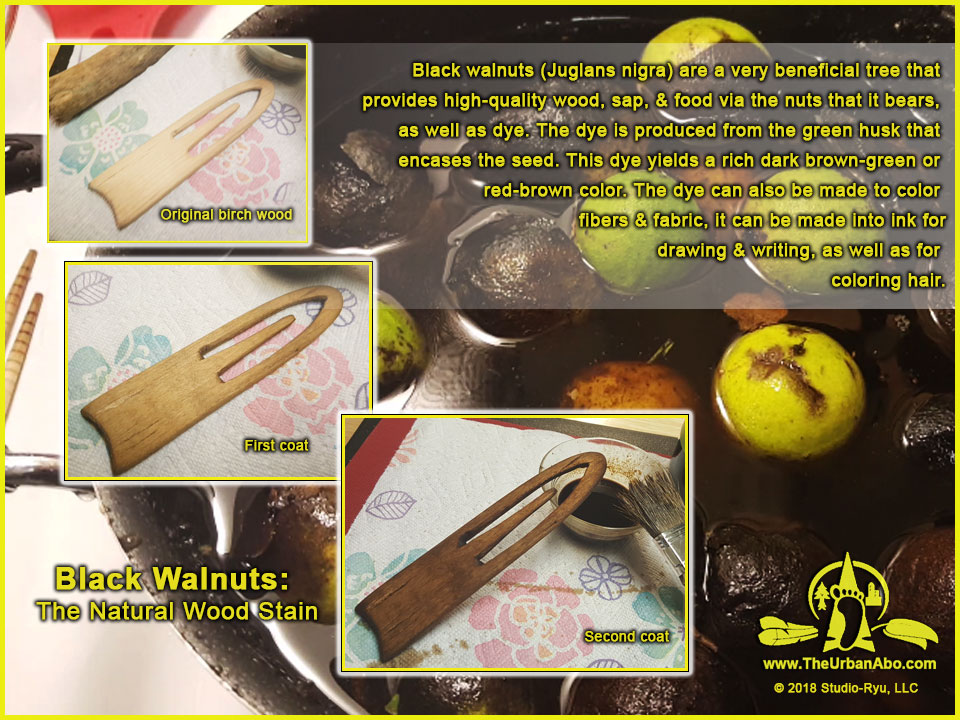
Black walnuts (Juglans nigra) are a very beneficial tree that provides high-quality wood, sap, food via the nuts that it bears, and dye. The dye is produced from the green husk that encases the seed. This dye yields a rich dark brown-green or red-brown color. The dye can also be made into ink for drawing and writing, and to color hair.
This is also a quick and DIRTY way of making wood stain using the nuts of the Black Walnut tree. It is not difficult to make but be mindful to wear gloves and to be careful to not stain things and areas you do not want to discolor.
*Below is basically what I have done to achieve a wild natural stain/dye:
- 25 Black walnuts (Juglan nigra seeds)
- 5C Water
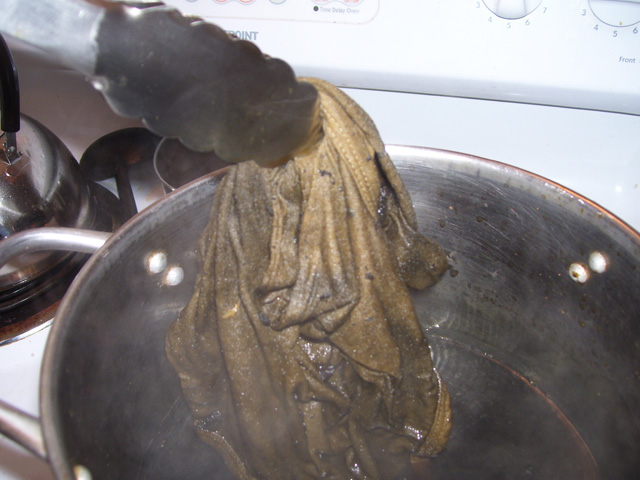
- Bring to a boil, then simmer for about an hour to render down.
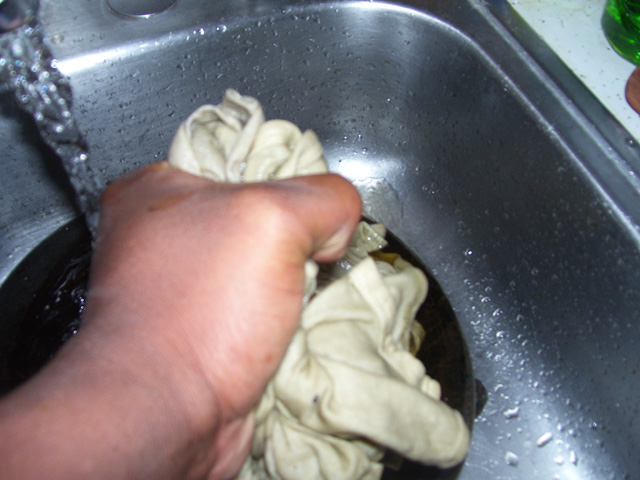
- Strain out the nuts and husks for the liquid.
- Store in a glass or ceramic container
- Add 2T of vinegar to help prolong shelf-life. Storing in the refrigerator until use is best.
Instructions
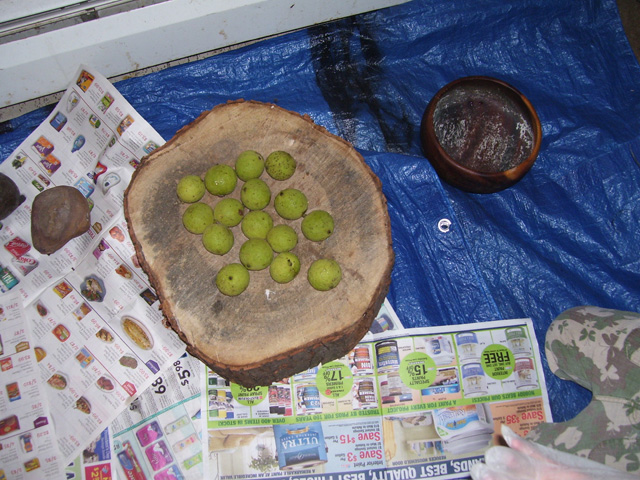
1). Harvest 12 – 18 black walnuts with the green husks intact. My understanding is that green-husked walnuts do not keep, they will start to turn black. These were kept in the refrigerator for about 4 days before processing. Also, the nut inside is perishable as well and may begin to mold if stored after de-husking.

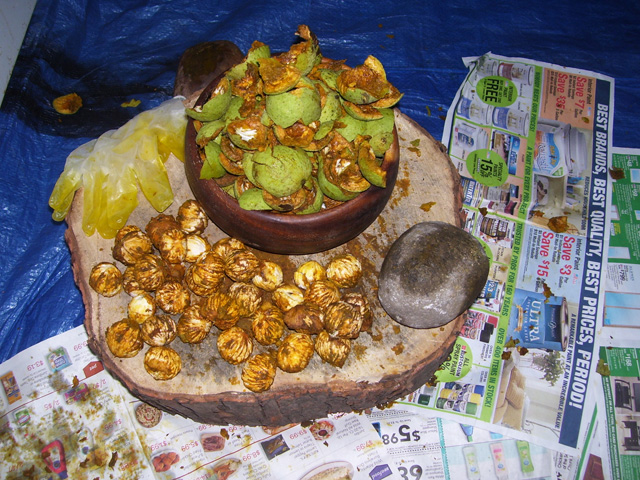
2). Be sure that your surface areas including your hands are well covered and protected. Black walnuts stain quite readily. Here, we have laid a tarp down partially covered with newspaper. Be sure to wear gloves, and clothing you do not mind getting stained.
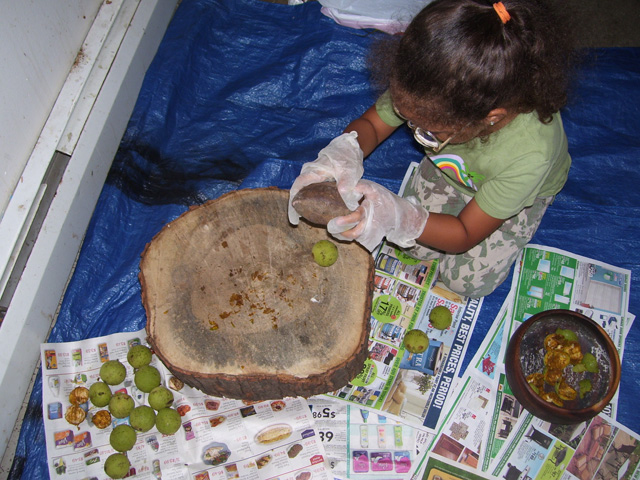
3). Take a rock, mallet, or hammer and break away the green husk from the walnut seed. The husk is what we need for the dye. Wearing protective eyewear would be a good idea as well for this.

